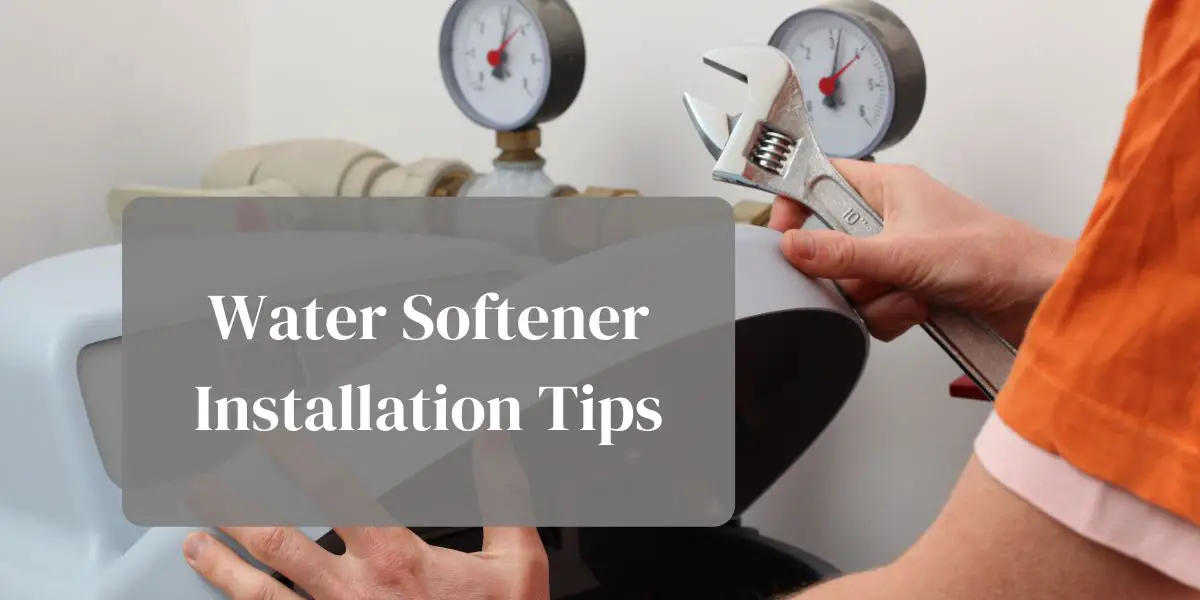
A water softener installation connects a pressurised drinking-water line to a resin tank, control valve, brine tank, drain and usually a bypass. Correct sizing, drainage, backflow protection and commissioning matter as much as the pipe connections.
Use a licensed plumber where local rules require one or when the work involves unfamiliar pipe materials, drainage, electrical supply or cross-connection protection.
Confirm that softening is appropriate
Test hardness before buying equipment. A cation-exchange softener treats calcium and magnesium; it is not a general purifier and does not automatically remove microbes, nitrate, solvents or every metal.
NSF/ANSI 44 covers residential cation-exchange water softeners, including material safety, structural integrity and performance. Review the NSF/ANSI 44 requirements and verify the exact model in a certification database.
Plan the installation
| Requirement | Why it matters |
|---|---|
| Main-water location | Treats intended fixtures without unnecessarily softening every outlet |
| Bypass valve | Allows service while maintaining household water |
| Drain and air gap | Carries regeneration water without a sewage cross-connection |
| Overflow route | Limits damage if the brine tank overfills |
| Stable floor and clearance | Supports full tanks and allows resin or valve service |
| Approved electrical outlet | Powers the control safely away from leaks |
| Outdoor tap decision | Avoids wasting softened water on gardens where appropriate |
General installation sequence
- Read the complete manufacturer instructions and local plumbing requirements.
- Shut off the main supply, relieve pressure and protect the work area.
- Position the mineral and brine tanks with service clearance and flood protection.
- Install the bypass in the marked flow direction and connect inlet and outlet without stressing the valve.
- Run the regeneration drain with the specified air gap, diameter, height and length.
- Connect the brine line and a separate overflow route where specified.
- Restore water slowly, purge air, inspect for leaks and complete the programmed startup.
Drainage and backflow protection
The drain discharges brine and rinse water under pressure during regeneration. Do not push it into a sealed waste pipe or omit the required air gap. Secure the line so it cannot whip, kink or flood the room, and confirm that the drain can accept the peak flow.
Program and commission it
- Enter the measured hardness and any manufacturer-approved iron compensation.
- Set time, capacity and regeneration controls as instructed.
- Use the correct salt type and do not overfill the brine tank.
- Run the prescribed initial regeneration or sanitising cycle.
- Check every fitting during service and regeneration.
- Retest hardness at a softened tap and record the result.
Common installation mistakes
Reversed inlet and outlet, an undersized drain, a missing bypass, excessive pipe strain and incorrect hardness programming can all cause poor performance. Placing the unit where freezing, heat, flooding or sunlight can damage it shortens its life.
The softener adds sodium or potassium ions while removing hardness. Households with medical sodium restrictions should seek appropriate advice and may keep an unsoftened drinking tap or use another arrangement.
Before installation, use our water-softener selection guide. After commissioning, follow the water-softener maintenance checklist and compare broader options in our whole-house treatment guide.
Bottom line
Install a softener only after testing hardness and confirming the model is suitable. Follow the exact manual and plumbing code, provide a bypass and protected drain, commission it with measured settings and verify the result without leaks.